Are you considering going green and taking greater control over your energy bills? This complete guide walks you through everything you need to know about residential solar panel installation—from evaluating whether your roof is suitable for solar to understanding the installation process. This article is worth reading if you want to embark on a DIY home solar journey or simply learn the fundamentals before hiring an installer. By the end, you’ll grasp how to install a solar panel system effectively, reduce costs, and tap into the powerful renewable energy of the sun.

When planning your solar project, it’s important to consider a few pivotal points. Installing a solar energy setup can significantly cut energy bills, but the process can actually become more complex if you don’t know what to look for from the start. Below are key aspects to consider before installing.
One of the most significant factors is solar access—the extent to which your rooftop receives unobstructed sunlight. Shading from trees, neighboring buildings, or chimneys can reduce the amount of energy your solar panels capture. Make sure your location north of the equator receives adequate sunlight, and that you don’t have large obstructions limiting sun exposure. In addition, check local regulations. You’ll likely need a permit to comply with building codes. Also, find out if there are any neighborhood or community restrictions on panels on your roof.
Next, think about your roof condition. Is your roof structurally sound for system installation? You don’t want to start the installation on a roof that requires repair or reinforcement. If you’re uncertain, get a professional company to come assess it. Identifying these details early on will help you develop a realistic plan and timeline, making it easier to coordinate with potential installers in your area or to move forward on your diy installation confidently.
Picking the type of solar panels can be a challenge, especially since different types of solar technologies vary in wattage, efficiency, and overall cost. Determining what’s right for your home depends on aesthetics, budget, and roof space.
The solar technology you choose largely shapes your energy production. Many solar panels on the market today are either monocrystalline or polycrystalline. Monocrystalline panels often have higher efficiency ratings and come in a sleek black design, but they can be more expensive. Polycrystalline panels are more budget-friendly but typically offer slightly lower efficiency per square foot. Whichever type of solar panel you select, look for reputable brands with a 25 year warranty, as solar panels generally require very little maintenance.
It’s also worth noting that thin-film photovoltaic options exist, though they tend to have lower wattage output and require more space. If you have a smaller roof, maximizing efficiency may be your priority. If you have ample space, you might opt for cheaper panels with a lower price-per-watt. In all cases, make sure your roof is suitable for solar and can handle the weight load. This approach ensures that your system operates at optimal efficiency and provides energy to power your home for decades.
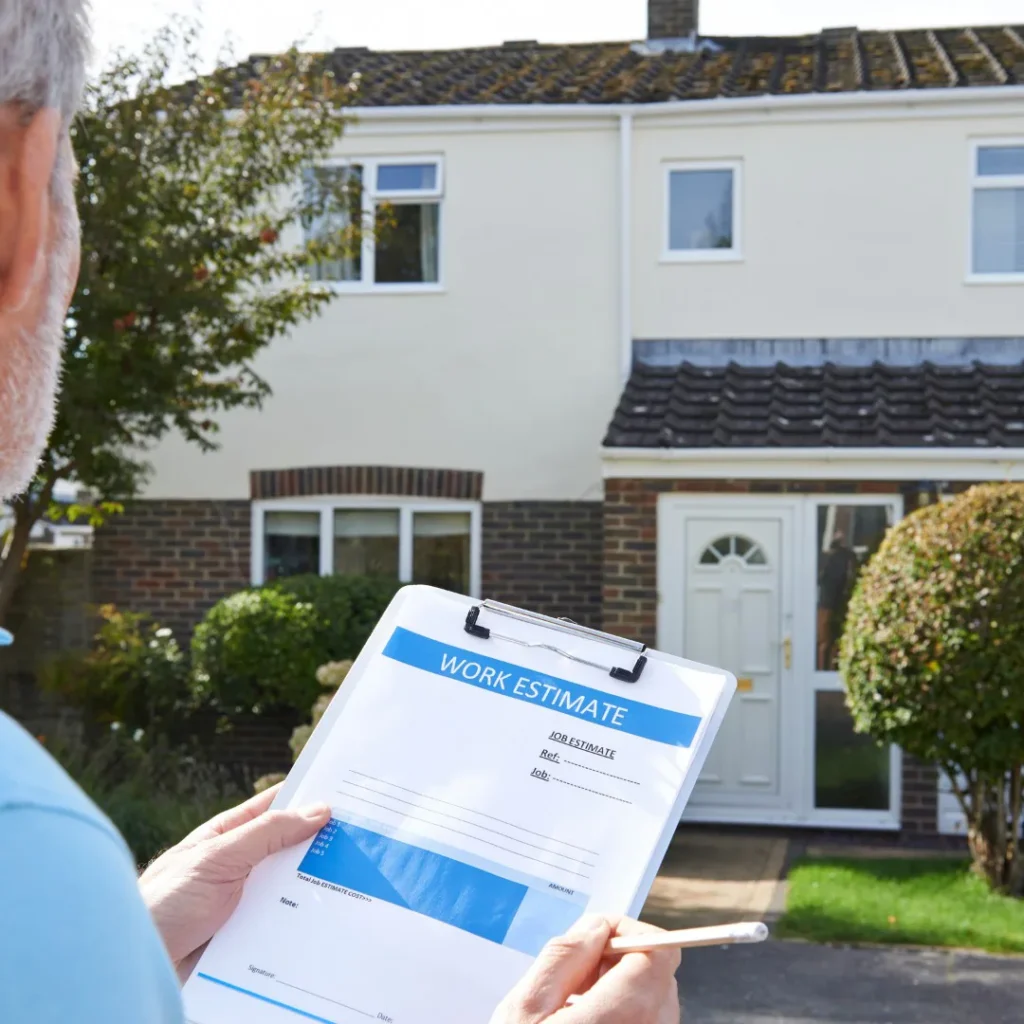
Before diving headfirst into a diy solar build or hiring an installer, using a solar calculator can give you a ballpark figure of total installation costs. This step helps you plan your budget, compare equipment options, and assess potential savings from net metering or incentives.
A solar calculator factors in your rooftop orientation, average monthly electricity usage, local sunlight data, and potential solar costs. Your final costs will vary depending on your home’s location, the wattage of the solar panels, and any additional features like a solar battery or a custom racking system. While these tools are invaluable for broad estimations, keep in mind that an in-person assessment still offers the most accurate quote.

Beyond providing raw numbers, online calculators often estimate how long it will take for you to see a return on investment. By factoring in monthly savings and local incentives, you can gauge whether diy solar or working with solar companies is a more cost-effective route. Don’t forget, you might also be able to sell surplus electricity back to the grid, depending on your utility’s net metering policies.
If you’re interested in a holistic view of how a residential solar panel installation unfolds, it helps to break it down step by step. Whether you’re pursuing a DIY home solar approach or hiring a solar installer, the objective is the same: a fully functioning solar panel system that converts sunlight into usable power.
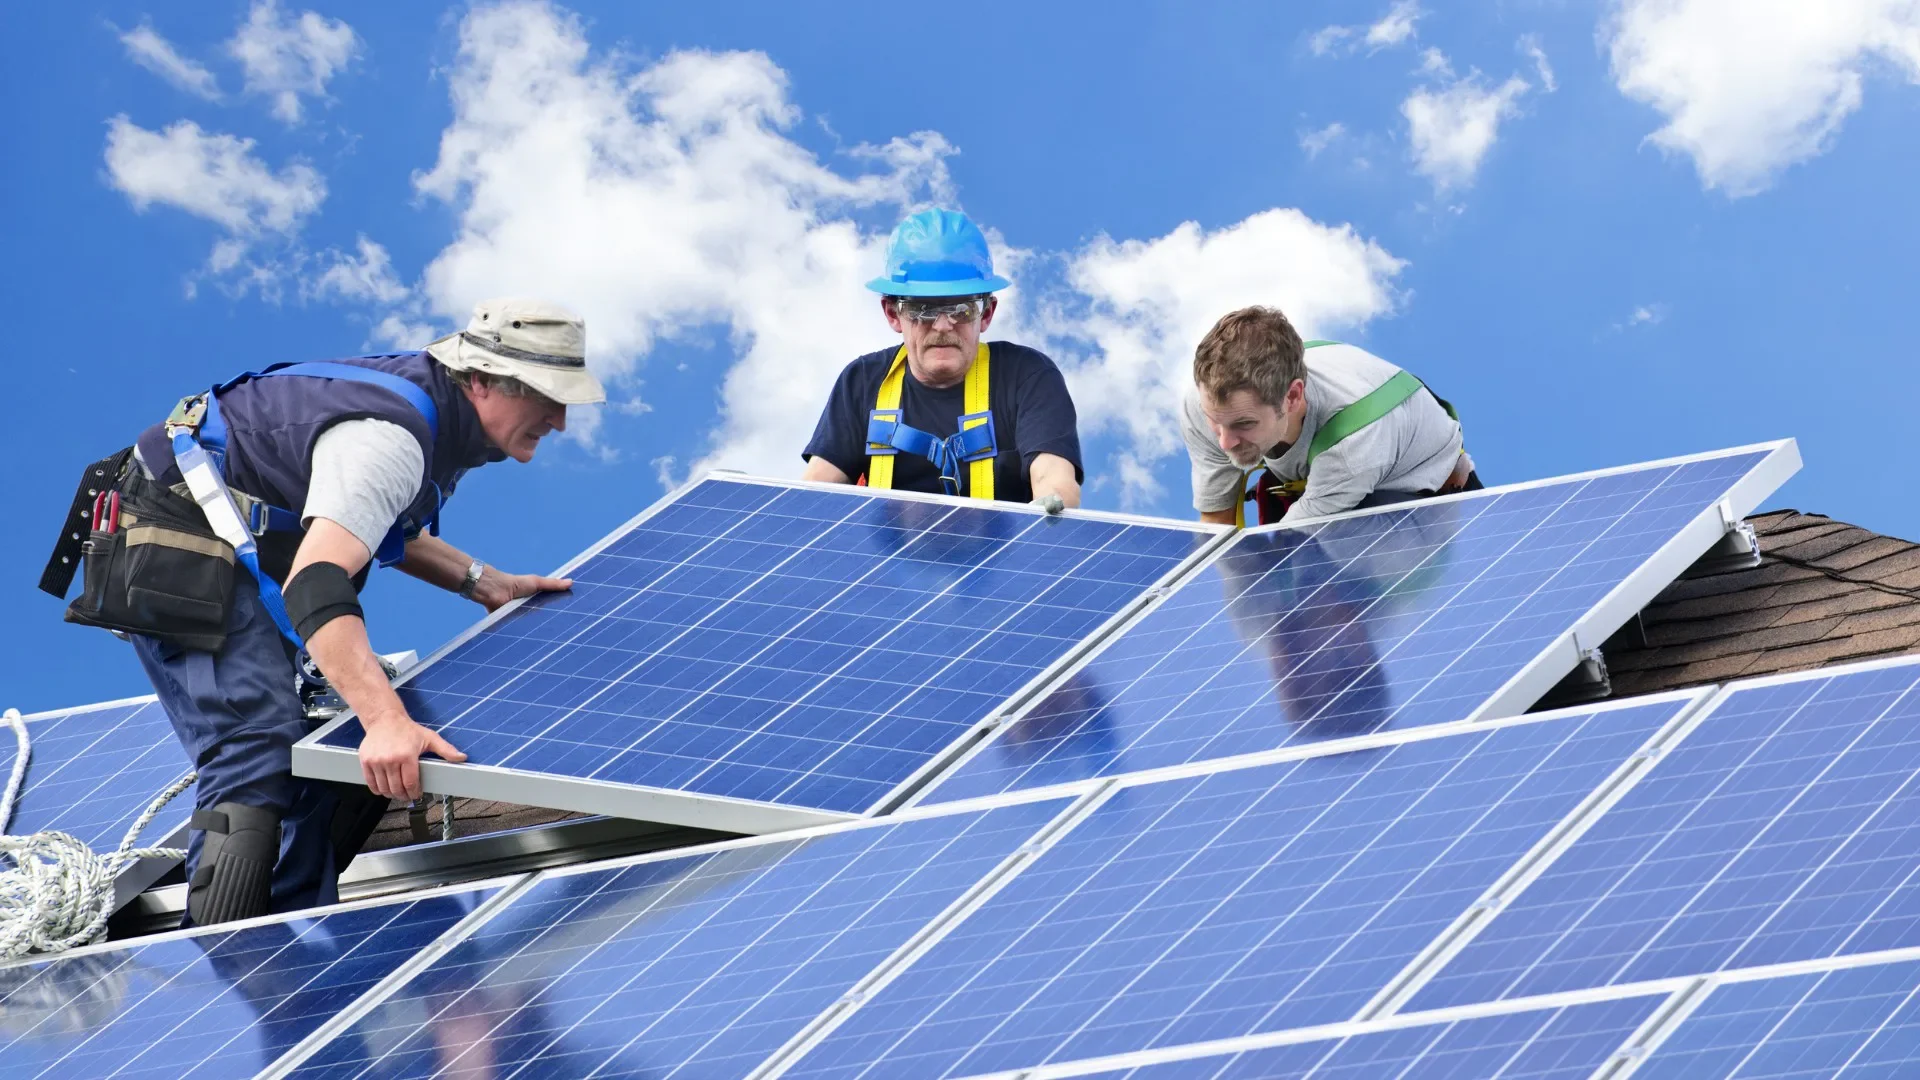
For any residential solar panel installation, you’ll typically start with an evaluation of your rooftop condition. A professional or a competent DIY enthusiast checks for structural integrity, ensuring the roof can support the weight of solar panels and the rack needed to secure them. They’ll also factor in shading to decide the best location for optimum sun exposure.
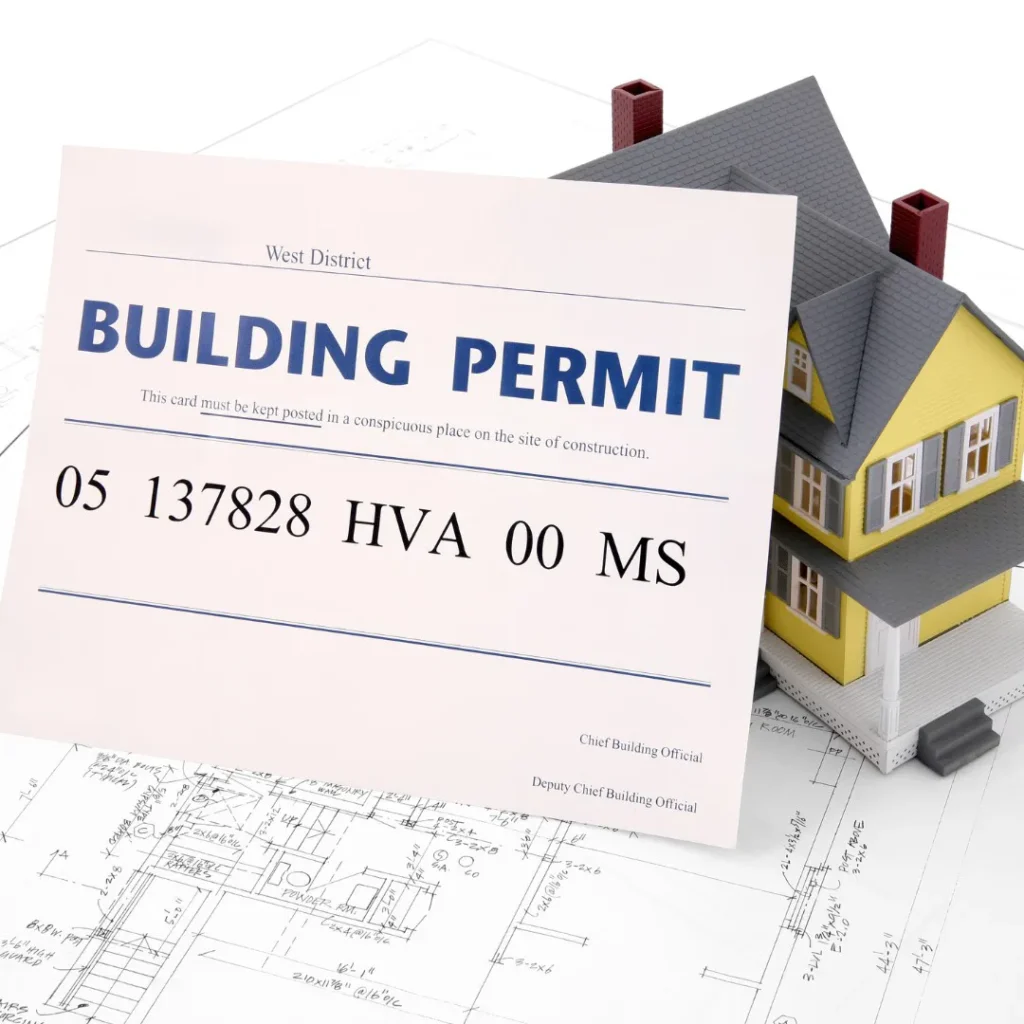
After the system is designed, you must secure a permit from local authorities, a requirement in most jurisdictions. During this phase, many also coordinate with utility providers about hooking the system to the grid. Once the paperwork is cleared, your chosen installation method (either diy route or professional) proceeds with physically placing the solar panels on the rack and connecting them to an inverter. In time, the system is installed and tested before you receive formal permission to operate.
The solar installation process involves methodical planning and the correct sequence of tasks. From the moment you decide to install the solar setup to the day your system goes live, understanding each phase helps ensure successful results.
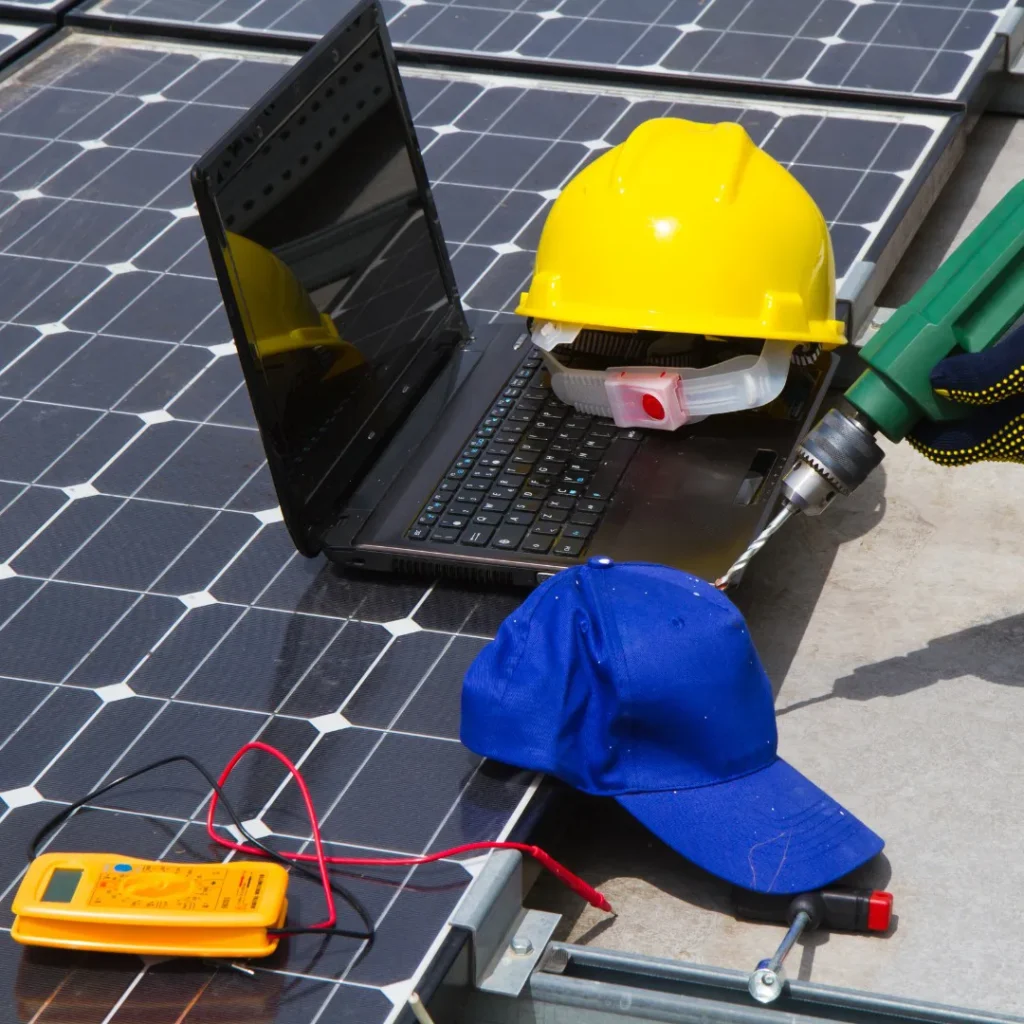
The first step is a detailed assessment. If you’re taking the diy solar path, you’ll measure your roof, calculate how many solar panels you’ll need, and decide the layout. Then you’ll start the installation with structural attachments—these often require drilling into your roof rafters to anchor the rack. Following that, you’ll assemble the racking system that holds your pv modules securely in place.
Once the panels are mounted, you’ll install an inverter to convert DC to AC, also referred to as solar inverter technology. You’ll also incorporate wiring and electrical wiring to link your array to your home’s circuit breaker panel. After hooking into the grid, a final inspection takes place to confirm everything meets local code. Then, the installation is complete, and you can begin enjoying clean energy from your solar power source.

If you plan to install solar panels yourself, here is a concise step-by-step guide to keep you on track. Although a full manual could be much longer, these highlights offer insight into the essential tasks.
Should you go the diy route or hire a certified solar installer? This question often arises once homeowners realize the potential savings of a diy solar approach. But there’s more than cost to consider.
DIY home solar can be rewarding. You gain hands-on experience and could reduce labor fees. However, be prepared to handle everything from permit applications to complex wiring tasks. You may need the services of a licensed electrician if local codes require it for hooking up your system to your home’s breaker panel. Also, the time investment can be substantial, especially if unforeseen roof challenges emerge.
A professional installer is typically well-versed in local codes, installation best practices, and system optimization. They can expedite the timeline and handle specialized tasks like advanced inverter configuration. Moreover, many professional solar companies provide warranties that go beyond the standard manufacturer coverage. If you value speed, convenience, and guaranteed workmanship, hiring an installer is often the best solution.
Here are some faqs that potential solar enthusiasts often ask. If you’re still uncertain about installing a solar system, these questions might help clarify the basics.
Once you’ve followed the installation steps carefully, it’s time to cross the finish line. But the journey doesn’t end immediately after you’ve placed solar panels on your roof. A few more tasks ensure your system operates safely and efficiently.
After physically mounting solar panels and tying them to the inverter, you’ll arrange an inspection by local authorities or the utility. This ensures compliance with building codes and electrical safety standards. You’ll then officially connect the system to the grid, often requiring a final “green tag” or some form of permission to operate. The local utility might install a net meter, which records the electricity flowing in both directions.

Be sure to keep documents related to your permit, installation, and 25 year warranty in a secure place. While your solar panels typically need minimal care, these records come in handy for future maintenance or upgrades. Maintaining a relationship with your reliable solar service provider or continuing your own DIY research is also beneficial for ongoing optimization.
You may wonder how to keep your solar array performing optimally throughout its lifespan. Although solar panels are known for durability, a bit of periodic upkeep ensures maximum energy production.
Regular cleaning can boost performance, particularly if you live in an area prone to dust, pollen, or heavy pollution. Cleaning panels on your roof simply requires a soft brush, mild soap solution, and a gentle stream of water. Check for any debris lodged under the rack or around the edges of the panels. Routine checks help you catch small issues—like loose fasteners or micro-cracks—before they become bigger problems.
Schedule an annual or biennial inspection with a professional electrician or installer if you want extra peace of mind. They can test the inverter and wiring thoroughly and verify that everything is still in peak condition. Since installing a solar system is a long-term investment, it’s wise to ensure your diy solar or professionally installed setup is operating at peak efficiency year after year.
By keeping these points in mind, you’ll be well-equipped to embark on a diy solar adventure or to confidently hire professionals for your next solar installation. Either way, embracing solar power brings both financial and environmental rewards that make every step worthwhile.